Thank you Gina from Healthy Little Vittles for writing this post and sharing your tips and no-bake brownie pops recipe
Food Photography Tips: 7 Tips for Taking Great Photos
If you’re looking for food photography tips, you’ve come to the right place. Let’s get to it!
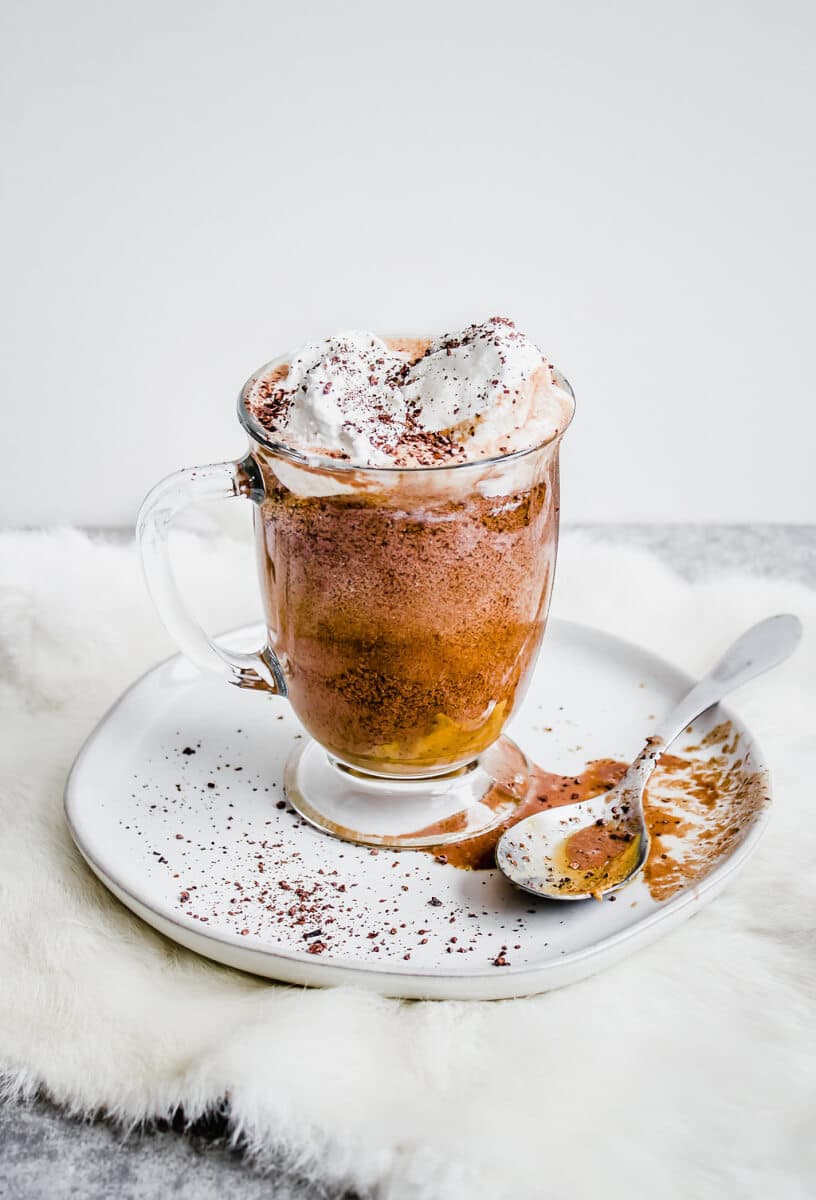
Food Photography tips for beginners.
1. Plating
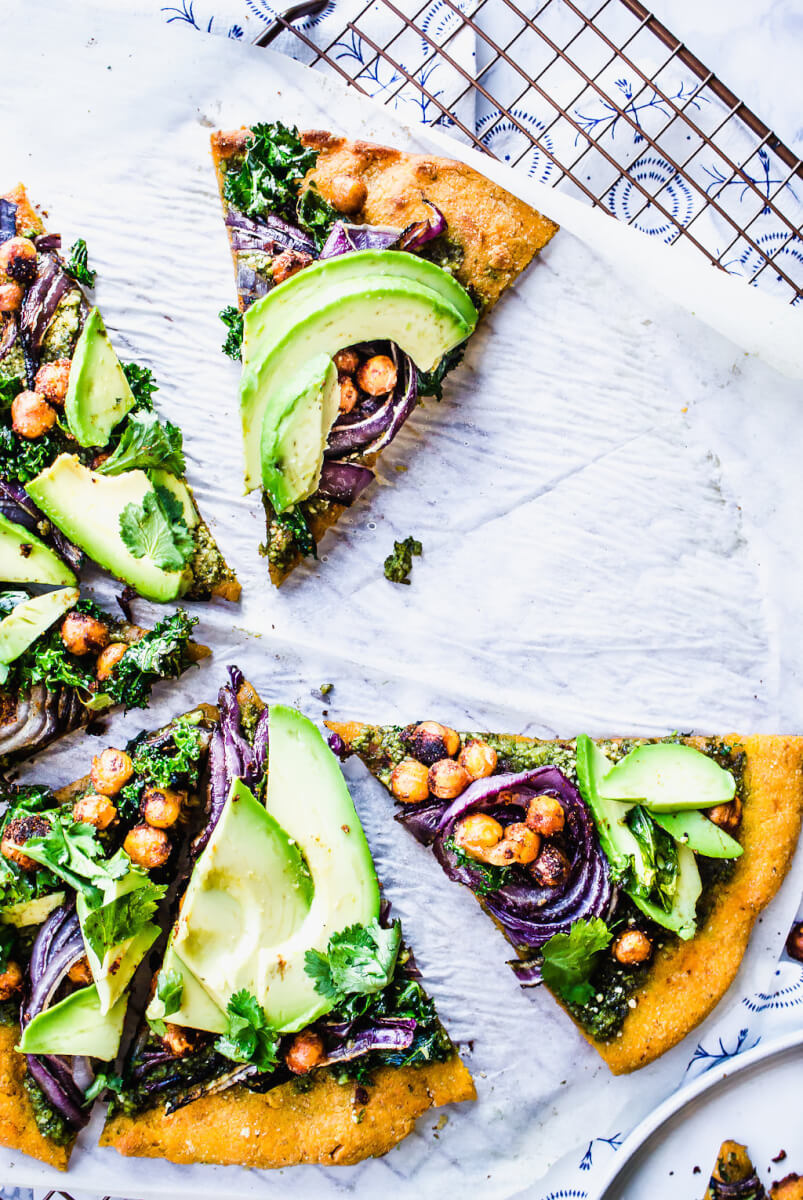
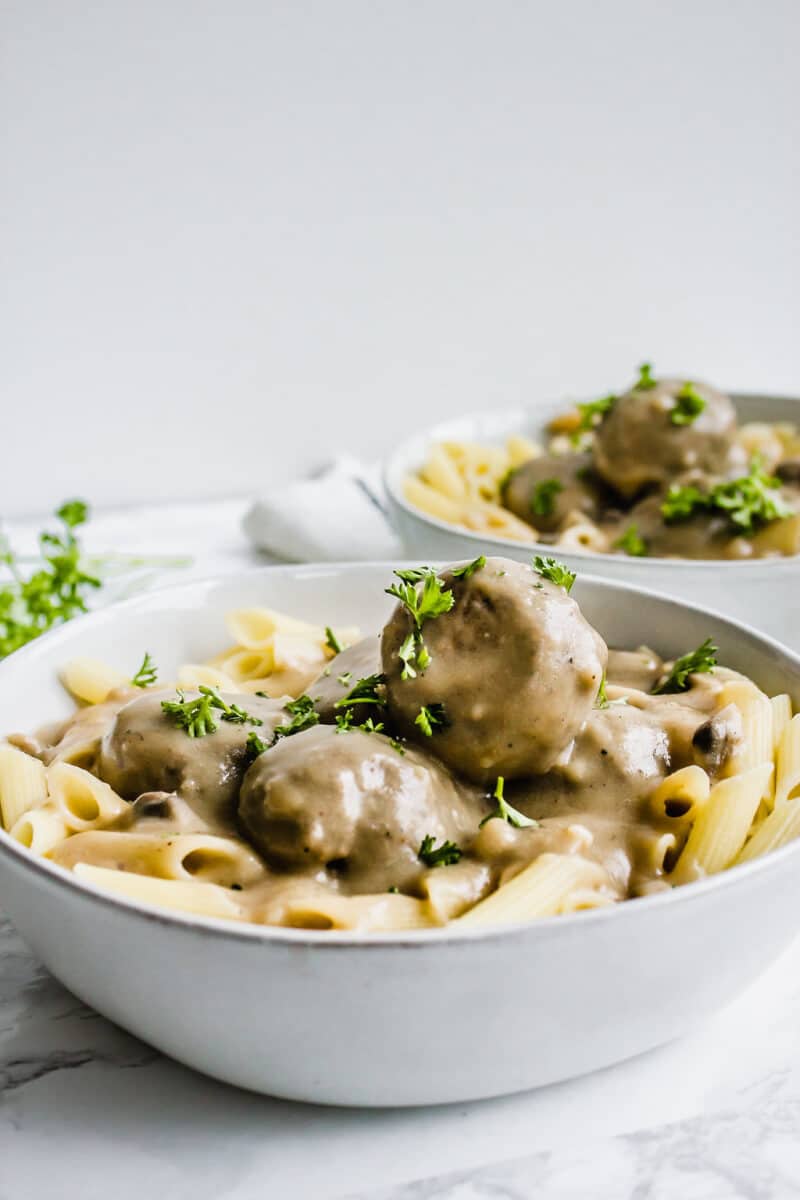
When I’m food styling and plating, I always strive for perfect imperfection. Don’t spend too much time trying to place each piece of food/ingredient in the right spot. Learn to embrace the beautiful mess. Keep it natural as though you are capturing your everyday experience, creating a bit of a story. Props are nice and should be complementary to the food, but don’t let them become a distraction. Also, use neutral colors with your props to really make all the beautiful colors of your food come to life. I also use off-white dishes mostly, because again, it allows the viewer to really focus on the food. And don’t be afraid to use negative space, like having a piece of pizza missing. It really makes a statement and draws your eyes to focus more on the food that is there.
2. Textures
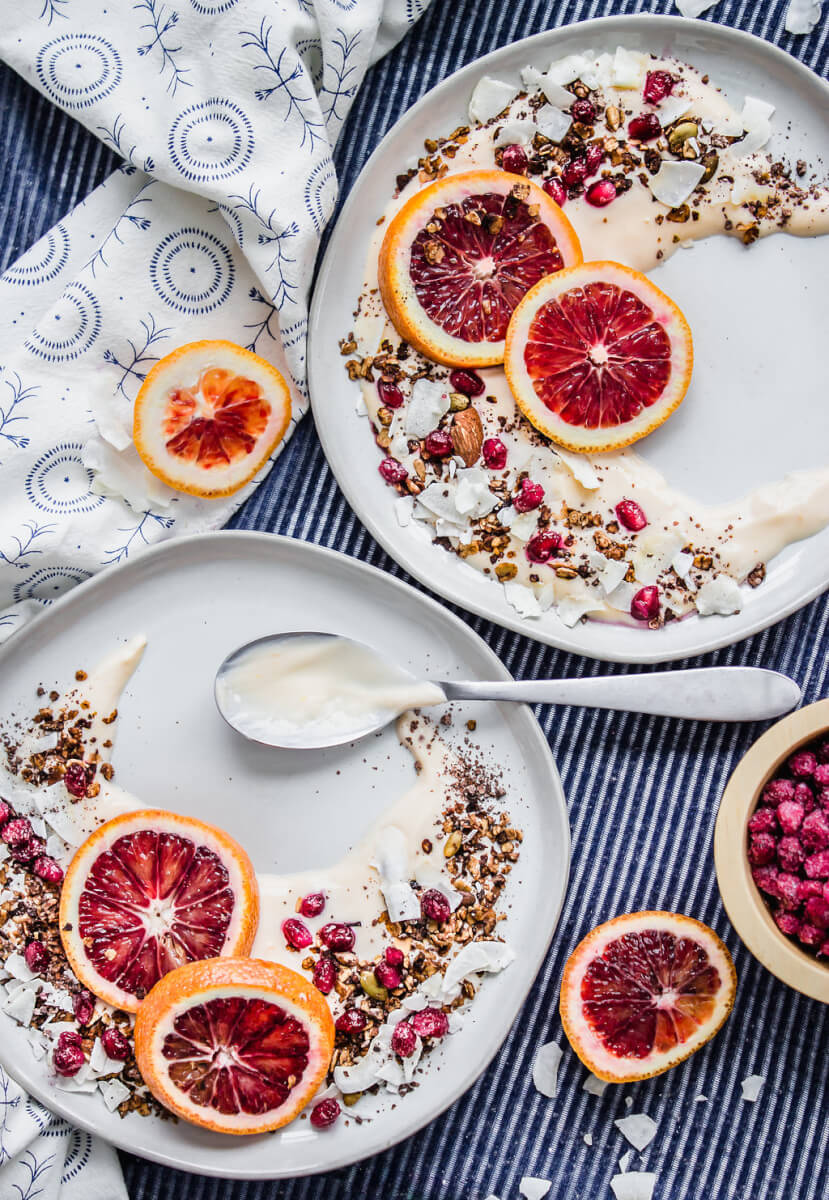
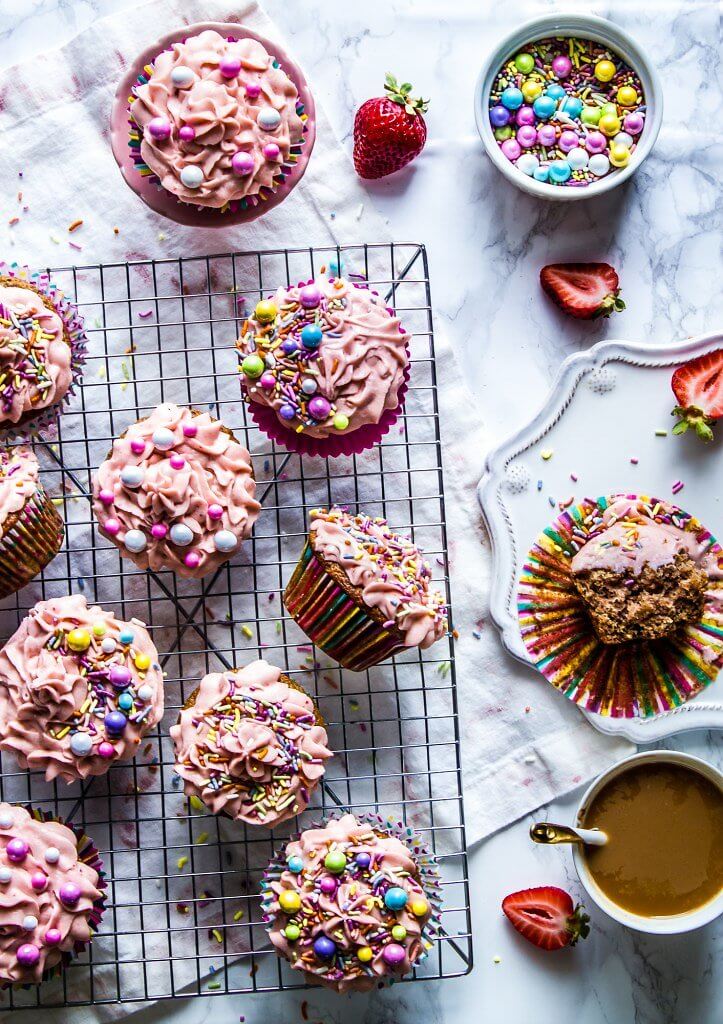
I often incorporate different textures into my photos. My background is most often a large board that I covered with marble contact paper. I then layer other things on top it, such as a marble/wood cutting board, a piece of textured fabric, or a neutral and slightly patterned kitchen towel to bring interest into the photo. I almost always use a white background because I prefer bright images
3. Shooting
I would suggest shooting your recipes in manual mode. I know it can be intimidating at first, but once you learn the correct settings and how aperture and shutter speed work, you can start to explore manual mode more. This is what you see when people blur out the background and have really in focus images- it really does take your food photography to the next level. I really suggest you take a beginners course (I am sure you can find some free) on how to use your camera and what those settings mean. Once you’ve plated your food and decided on the composition, think about the angle you want to photograph from.
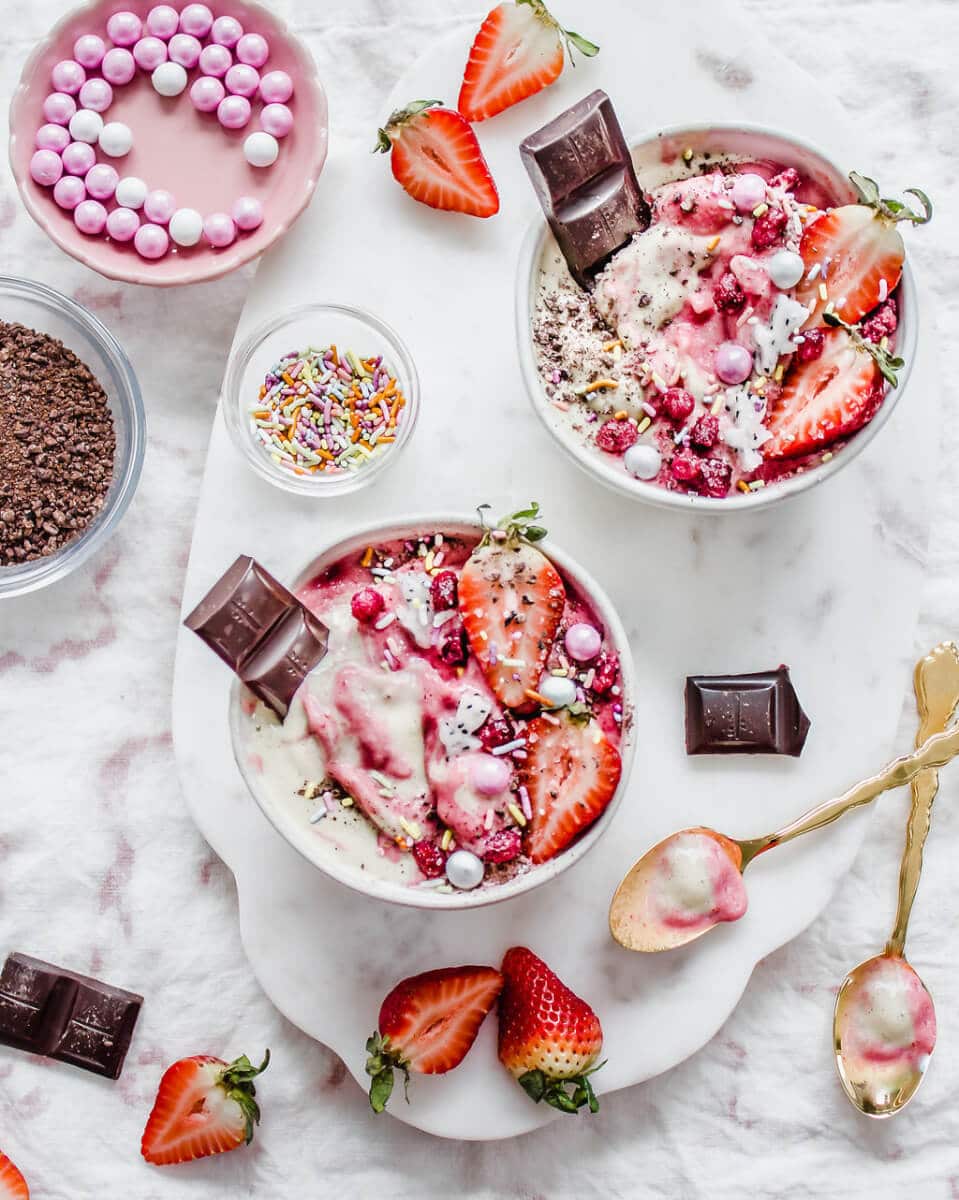
I usually try to stick with one of these – side-on, 45 degrees or overhead. I really love flatlay shots (overhead shots). Also, if you have a tripod I really recommend using it, even if you don’t think you need it. It has made a huge difference in my photography, especially when I have shaky hands! It also means you can add a human element to a photo or get an action shot, like pouring syrup! And don’t be afraid to get up close and personal with your recipes… they don’t mind you gettin’ all up in their grill like when shooting people 🙂
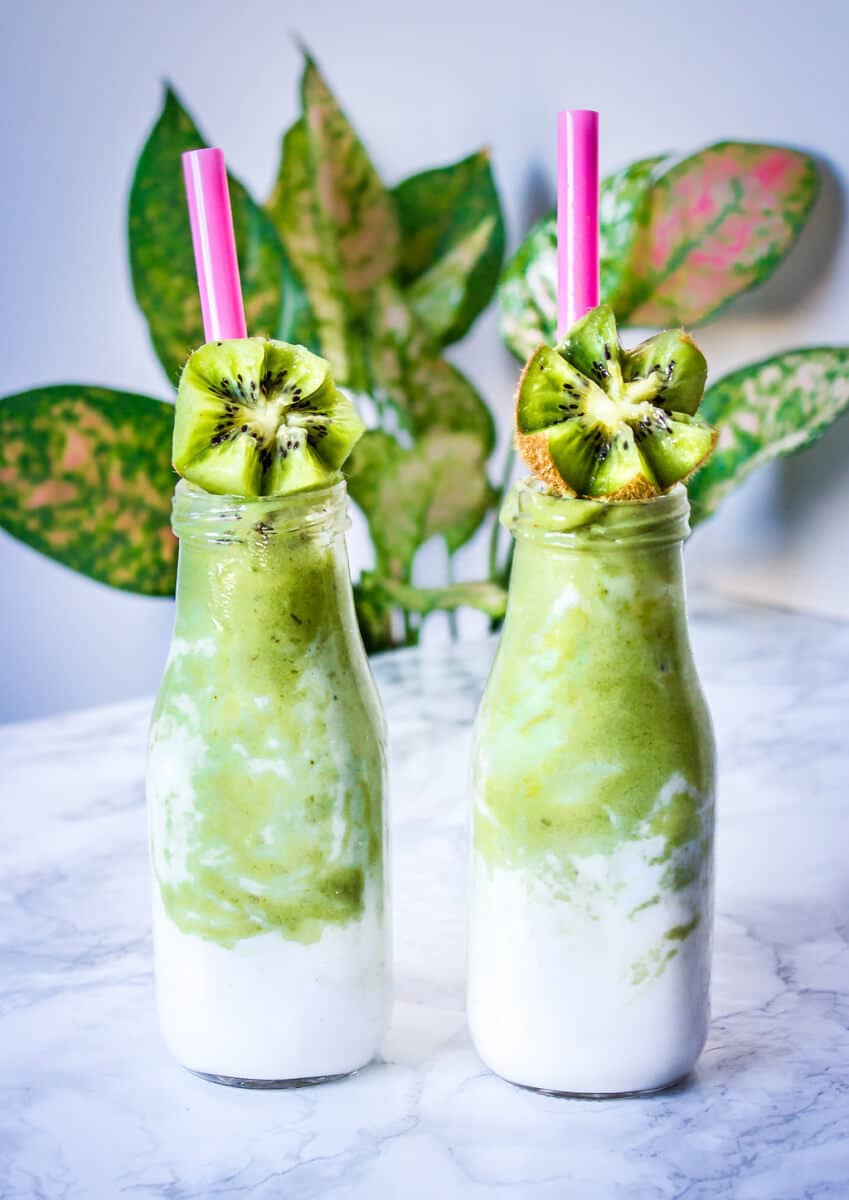

Processed with VSCO with hb1 preset
4. Light
Lighting is SO important- for any kind of photography, really. I am not a huge fan of using lights, but rather shooting with natural light. The warmth of natural light is just so appealing for food. Food is very detailed, so you need to make sure you have good lighting to be able to see all the small details of the foods you’re shooting. The winter makes it difficult to obtain adequate lighting when I am inside, so I also shoot a lot of my food outside. For instance, if I am running late or it’s a super gloomy day, I take it out on my front porch (and my neighbors probably wonder what the heck I am doing haha). If it’s a nice sunny day where I am getting a lot of light, I shoot by my back sliding door.
Bounce card! So I recently have started using a piece of white paneling to help reflect light to other areas of my dishes. If I want to eliminate shadows, I will set up the white bounce card to the side of my set that will reflect the sun to decrease the amount of shadow. If I want to bring more drama to the pictures. This is particularly helpful later in the day when the lighting is a bit lower.
Also- I used to think that shadows were bad. But use those shadows moderately to increase interest to your photos and really portray that natural element. If using direct sunlight (like in the fruit bowl image) be careful to make sure your ISO setting is low. It’s really hard to bring down overexposed photos. It’s way easier to bring light in than down. I don’t shoot in direct sunlight often because it has a different mood, but sometimes it’s nice.
5. Take Your Time + Take Multiple Photos
I take most of my photos right before I eat them. That means my family is waiting on me to take these photos before they can eat too. That puts a lot of pressure on me to get them done fast because I don’t want them to wait or the food to get cold. While my family has been SO PATIENT with me in doing this, it internally makes me want to rush through the photo part of it, and the result is I end up with photos I don’t love and I feel like I wasted a good opportunity to capture a recipe. So take your time, take multiple pictures at multiple angles. I try to get 3 different angles of each recipe I create. #1- I have more to choose from when adding to a blog post, and #2 I now have 3 different photos to share to social media when my material is low or I don’t feel like cooking, or whatever the reason is. And then I’m not posting the same picture all the time.
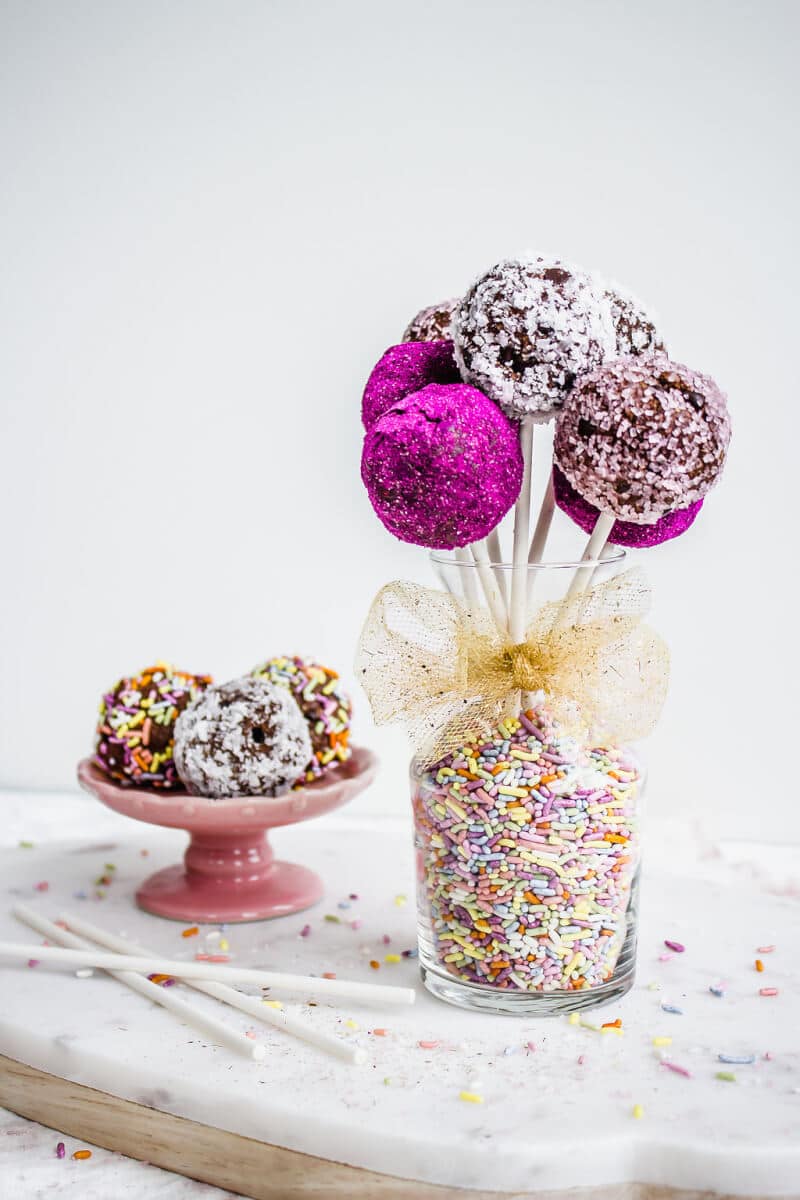
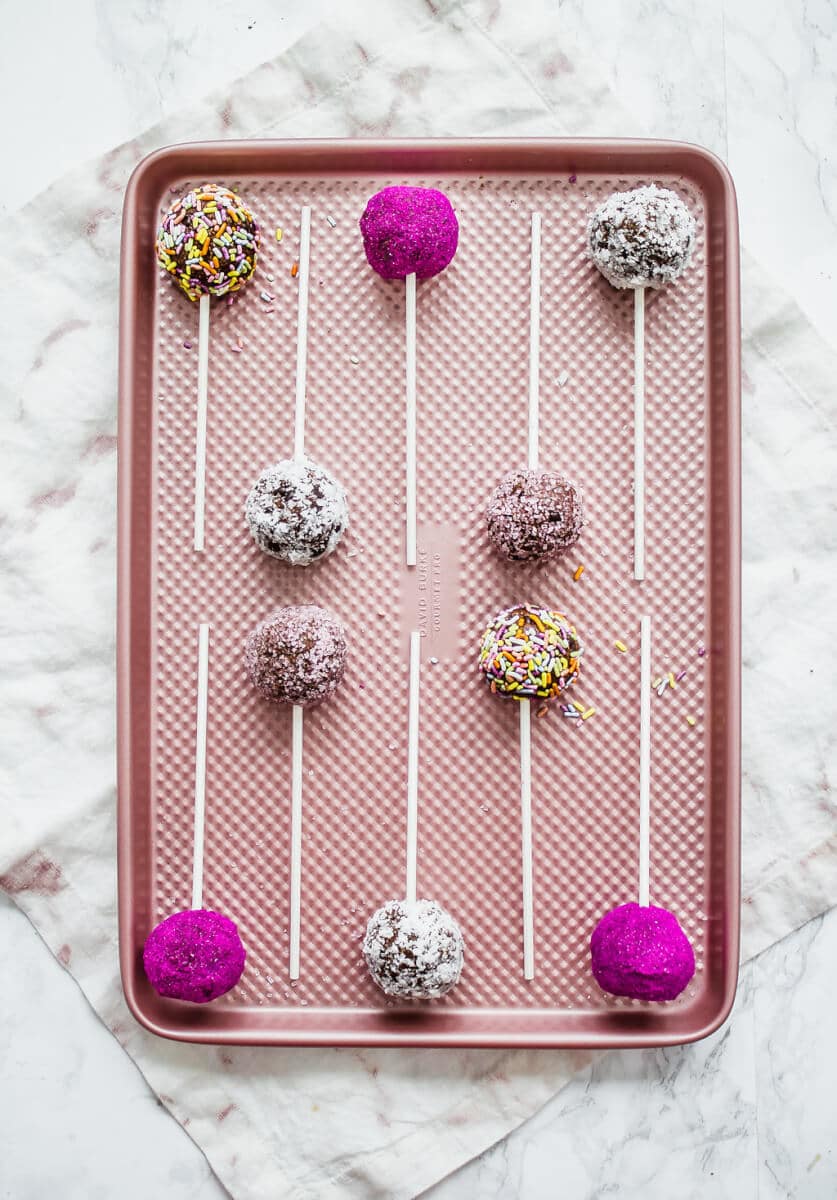
6. Exposure
I really like white in my photos and I started off shooting everything on a plain white background thinking that I was doing something different and unique. I liked the cleanness of how my photos were forced to just focus on the food. It wasn’t until my photographer friend pointed out that maybe my photos were too overexposed and that a lot of photographers just starting out fell guilty to doing that. At first I was in denial, and appreciated her honesty, but didn’t see any need for change. But the more I thought about it, the more she was right. So I really started to take that exposure down a bit and I focused more on backgrounds and props that were off white instead of stark white. It can be really easy to overexpose your images, especially if you like the white clean look like I do. Play with contrast maybe more-so than exposure, and eventually you will start to train your eye to see when images are too overexposed (it took me a while to get there).
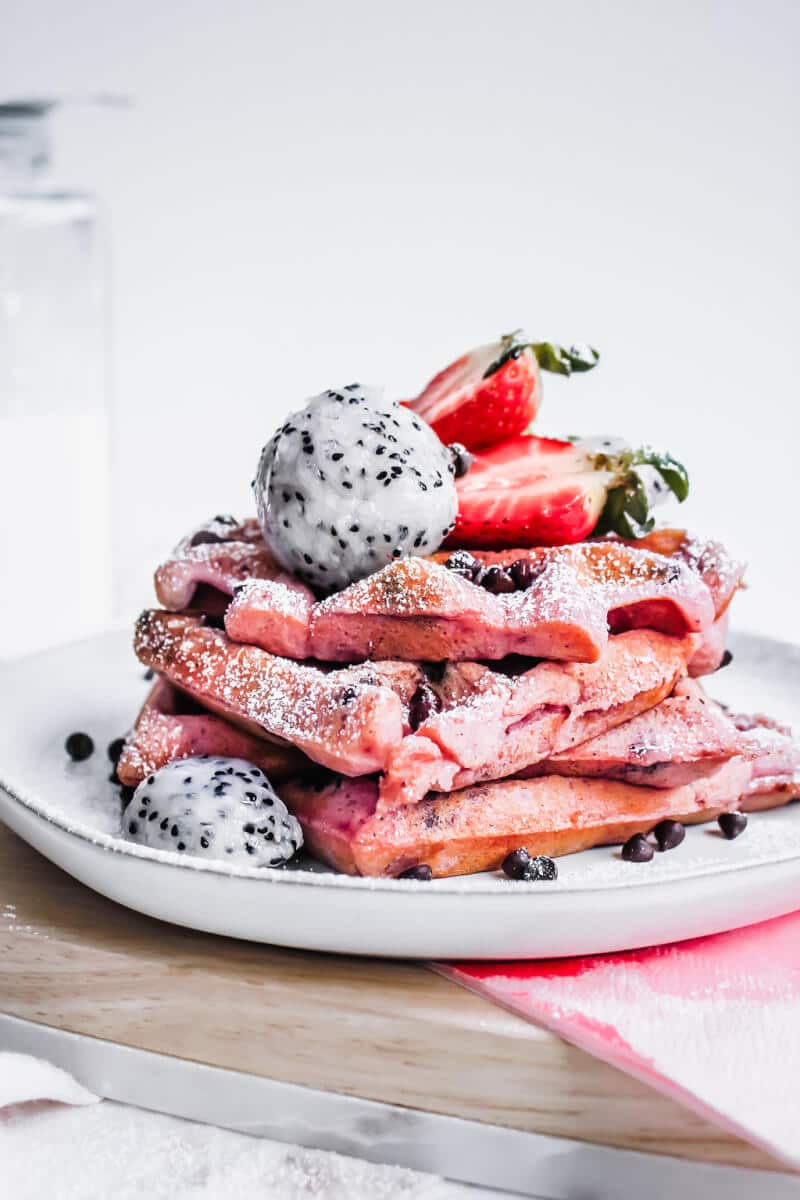
7. Lightroom + VSCO
Lightroom is bar far my favorite editing tool. Invest in some quality trainings to learn how to best use Lightroom. I had a basic knowledge, but it wasn’t until I took free (yes, I said free!) workshops hosted by other food photographers I was following on Instagram, that I really learned specific tools that Lightroom had just for food photos! One of those workshops was from Two Loves Studio! It was so helpful, check it out! 🙂 Also invest in some quality Lightroom filters- it will make your life a lot easier, trust me… Lastly, take a break after editing before you do anything with your photo. Sometimes I come back to my edited photos later on and think ugh, that looks terrible! It doesn’t happen quite as often now as it used to, but there’s still times where I am glad I waited to post my photos.
VSCO
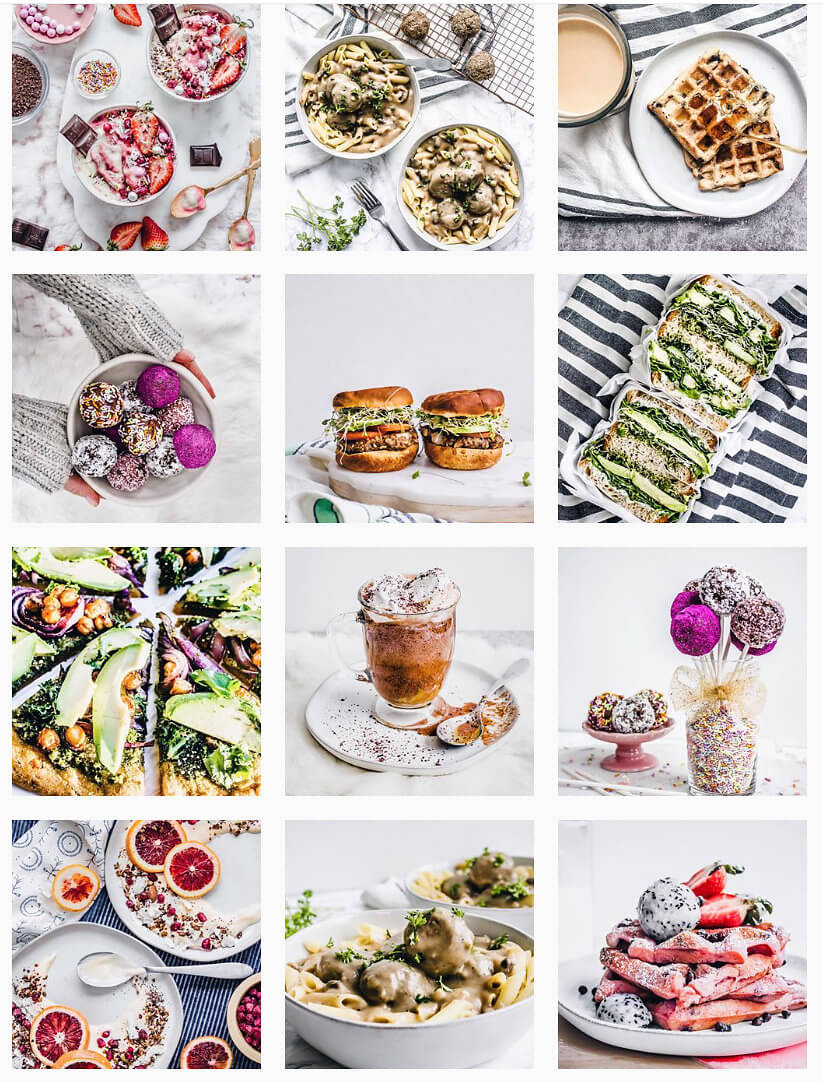
VSCO was an app I just recently learned about and it’s amazing! I used this mostly for my Instagram account. What I was getting frustrated with is how come my photos looked good, but other people’s feeds just seem like they were so much more cohesive and all their photos seemed to blend together so well. Now, I try not to compare myself to other people (more below on that!), but I did want to learn how to create a seamless feed to really capture the attention of anyone who stumbled upon my profile. VSCO has a ton of different filters that you can choose from to overlay on your photos and then you can upload them to Instagram/social media. I apply the same filter on every single photo and adjust the intensity of it and have been really happy with how my feed is starting to give off that vibe of cohesiveness.
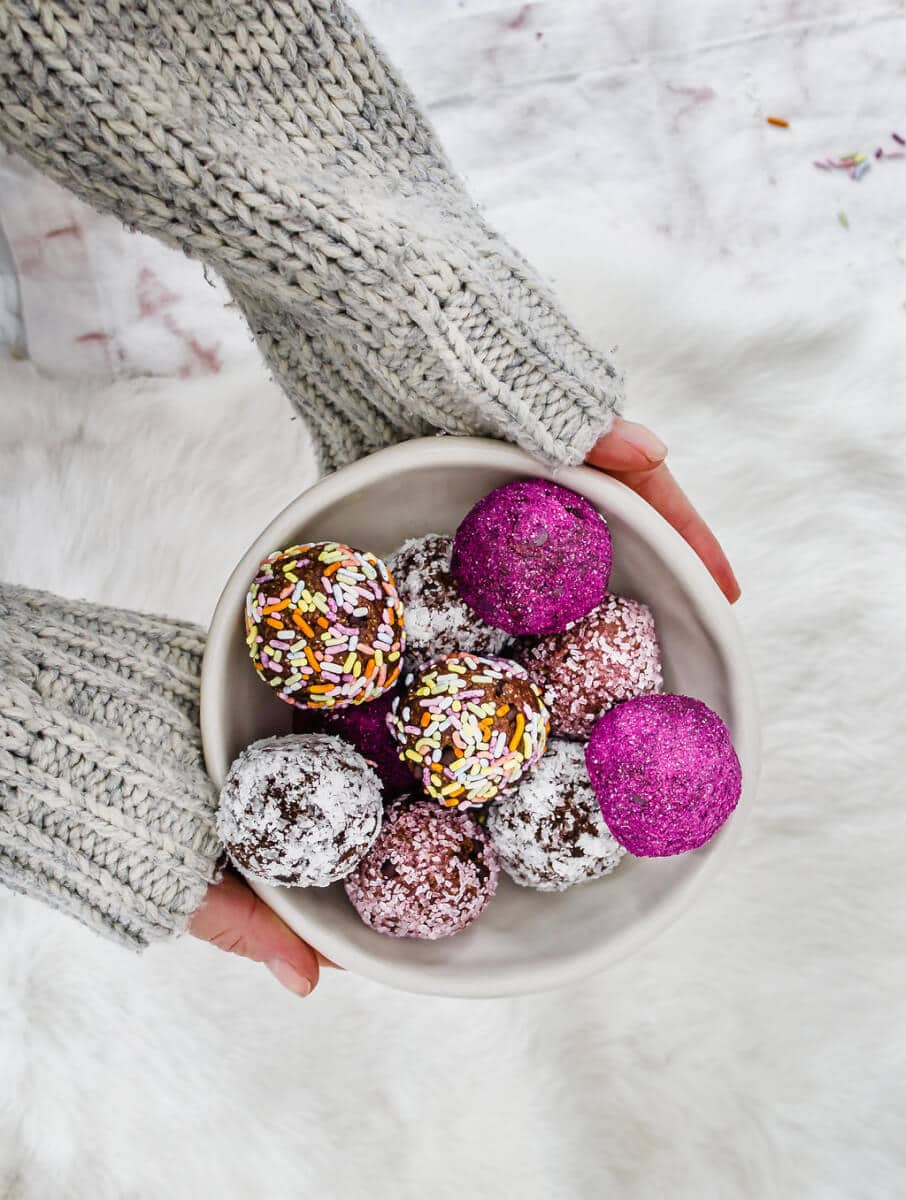
Brownies! Brownies! Brownies! Common’ chant with me… I can’t even contain my excitement about these little gems! For one, they are SUPER simple to make, two- you don’t have to bake them, three- they are naturally sweetened and taste just like brownies (even my brownie lovin’ dad says so!), and four- your kiddos will love them! I mean, I could go on with more reasons- they’re adorable, fun, colorful, did I mention easy to make?! They make for one dynamite snack! So you might be wondering what’s in these tasty little morsels? You wouldn’t believe me if I told you… but don’t fret, I’m gonna tell you exactly how to make these. But first, a little brownie pop checklist:
Naturally sweetened: you bet!
Gluten-free: as always!
Vegan: why of course!
Less than 15 minutes to make: booya!
Delicious: oh heck ya!
Nourishing even?: Surprise!
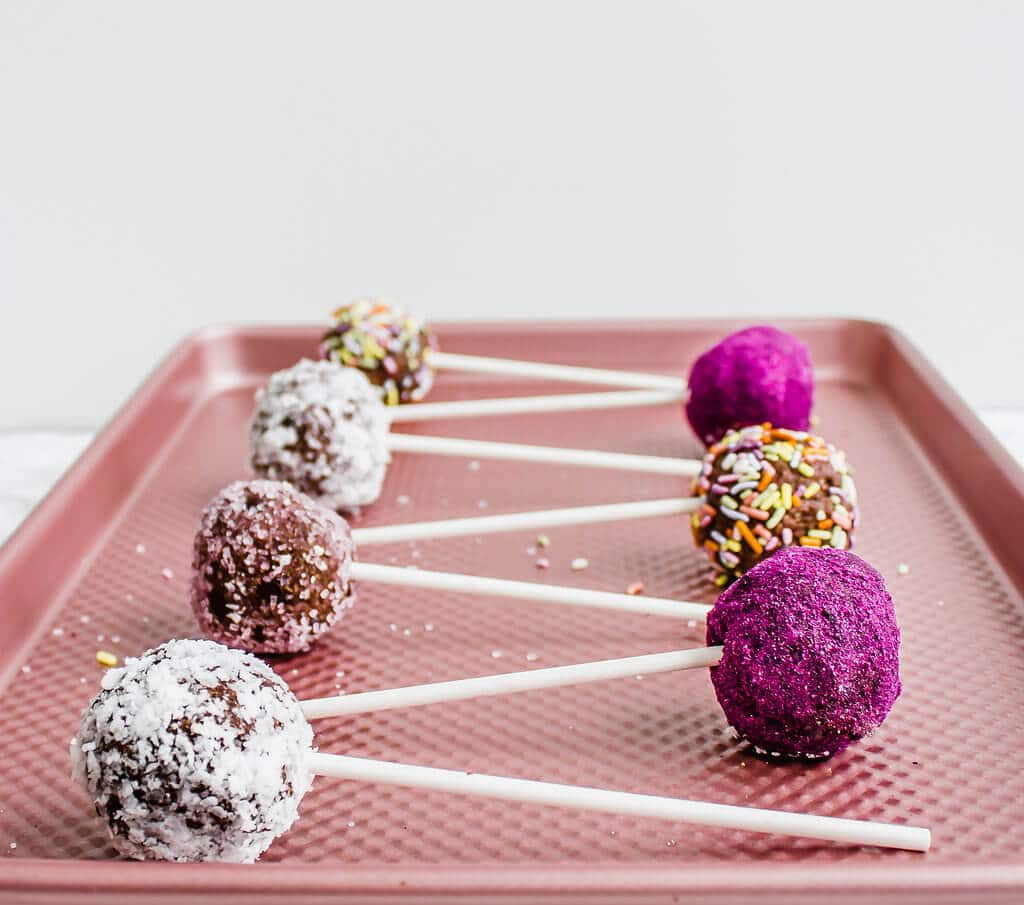
Now you don’t have to make them into pops… I just did that because I thought it would be super fun! It’s really simple to make them into pops, but they also make delicious little brownie bites!
As always, tag me on social media and use #vittlemethis for a chance to be featured in my stories!
[su_box title=NO BAKE BROWNIE POPS]
COURSE: Dessert, Snack
PREP TIME: 15 MIN
INGREDIENTS
- 8 dates
- 3+1/2 tbsp unsweetened cocoa powder
- 2 tsp pure vanilla extract
- 1 tbsp flaxseed meal
- 2 cups oats
- 2 tbsp coconut oil (melted)
- 3 tbsp maple syrup
- 1 tbsp unsweetened almond milk
- 1/4 cup chocolate chips (I used Enjoy Life mini chips)
OPTIONAL “TOPPINGS”
- sprinkles (I used India Tree)
- dragon fruit powder
- unsweetened coconut flakes
INSTRUCTIONS
Blend all ingredients together in your food processor/blender (except for the chocolate chips) until a dough forms.
Dump the formed dough into a medium-large bowl and fold in the chocolate chips
Form into balls using approximately a tablespoon of dough (you can make these as large or as small as you’d like)
Roll in desired toppings or eat as is! To enjoy them as pops, simple place the stick in the center of each ball
[/su_box]
I hope you enjoyed these food photography tips!



No Comments