I wrote this class for p52 clicks. I figured I’d share here too. Join their Facebook and Instagram page.
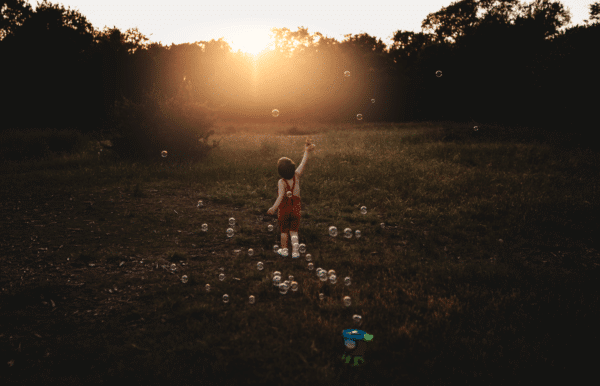
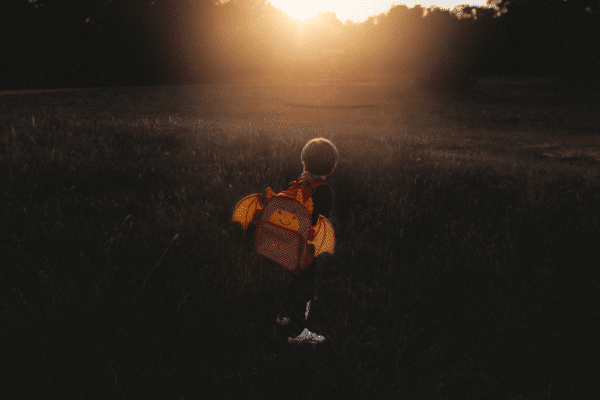
When I started taking pictures a few years ago, I was inspired by all the gorgeous golden hour pictures I saw on my Instagram feed. The light was magical and I loved that moody look.
So I decided to give it a try myself and it turned out to be a bit more difficult than it looked. My shots were either overexposed or dark and shadowy. However I’ve since learned a few tips and tricks to help make these backlit photos beautiful. Every photographer will have a different technique but this is how I do it.
Find the perfect time of day
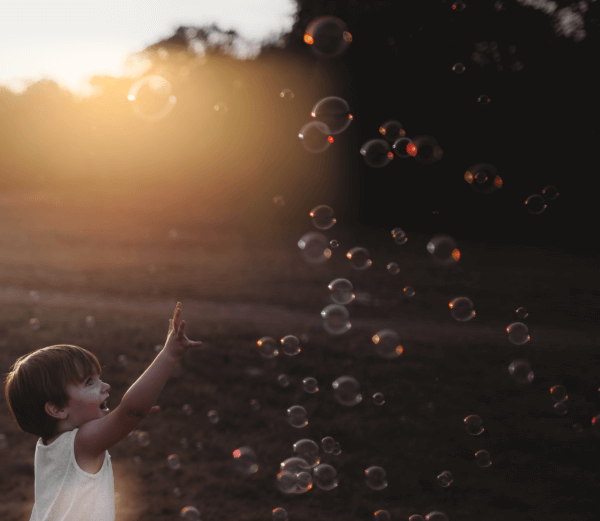
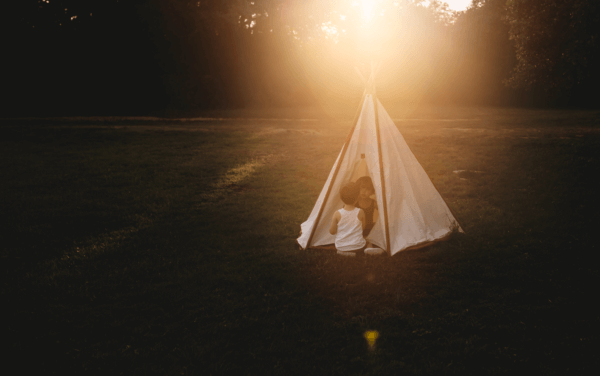
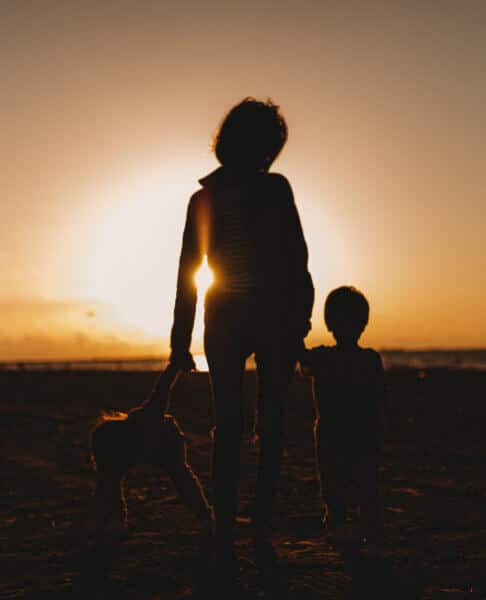
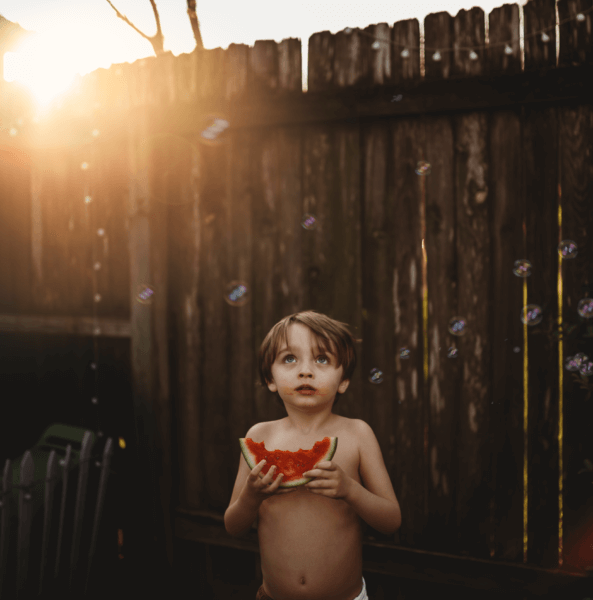
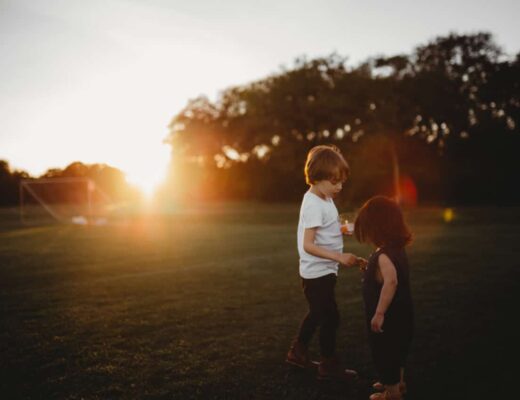
I prefer to shoot early in the morning, just after sunrise, or at night, just before sunset, in what’s called “the golden hour”. The light then is soft, and it will give your subject a golden halo, if you position yourself just right. On top of shooting at the perfect time, it’s also important to find the perfect place. I like to shoot at places that have trees so it filters the sun and makes it easier for the camera to focus and also easier to correctly expose the photo. That said, you can try it anywhere.
Choose the right settings
When taking pictures at golden hour, I use manual mode on my camera, and always shoot in RAW format.
I keep my ISO low and fixed, usually at 100. I also keep my aperture wide and fixed, like f/1.8 for example. And I experiment with my shutter speed (exposure) until the sun isn’t just a white blob, and the subject of the photo isn’t so dark that they’re black and definitionless.
When I’m taking pictures, I usually have an idea of the results I want to achieve but sometimes you won’t. I love to experiment and it’s a great way to discover new techniques.
Slightly underexpose your pictures
I usually slightly underexpose my pictures. This means that the subject will be as dark as possible, but not so dark that the shadows are all black; you need a high enough exposure that you don’t lose definition in your darkest areas, because that’s not something you can edit back in. (The same goes for the brightest areas of your photo too, but I recommend adjusting exposure based on your darkest zones for this type of photo.). Though, I’ve learned that most photographer like to overexpose their backlit photos so experiment and see what works best for you and your photography style.
I love to use the sun to create fun lens flares. To create what we called the “ring of fire”, I went to my local improvement store and bought a tiny copper pipe, about 1” diameter by 1” long. I place it just in front of the lens to create fiery circular flares. It’s a sensitive technique and just like with everything else, it takes experimentation. I like that it adds a magical element to my pictures..
If you’re feeling extra brave, water on the lens creates awesome lens flares too. 😀
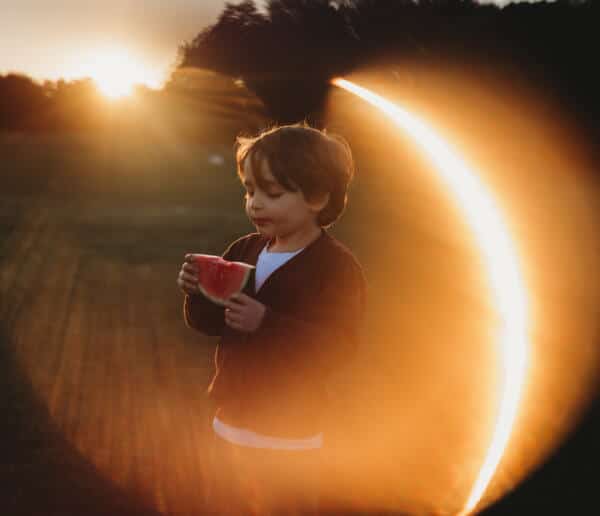
Ring Of Fire.
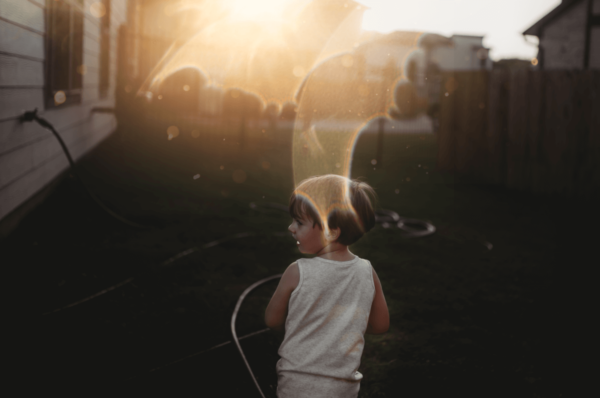
Focusing
Focusing is one of the hardest thing when shooting backlit photographs. If you have direct sunlight pouring directly over the horizon into your lens, your camera will likely fumble trying to auto-focus on your subject. I have an awesome tip, though, if like me, you prefer to shoot using auto-focus. What I do is I extend my left arm and use my hand to block the sunlight from directly hitting the lens without covering the subject in the frame I’m trying to focus on. Then when the camera’s fully focused, you move your hand out of the frame and fully depress the trigger. Try it, it works wonders.
Editing
My SOOC (straight out of the camera) shots usually come out dark. I love moody pictures, richness, and high contrast and the only way to achieve this is through post-processing. To achieve this look I love so much, I usually adjust my blacks by sliding the slider until the shadows are dark, but not so dark that they’re a featureless black blob. That’s how you know you’ve gone too far.
I play around with the highlights and shadows sliders next. Mess around with these and get to know what they do and what you like. After that, I work on my colors. I adjust the white balance, usually warming up my pictures. I tend to lower the blue saturation in the HSL sliders. It’s a personal preference because I love earthy tones.
Often times when I start adjustusting one parameter, what I’ve adjusted before needs to be re-adjusted slightly so it takes a lot of back and forth. In pictures where my background is overexposed and my subject is correctly exposed, I brush the background around my subject while being careful not to brush my subject. For my brush parameters I use decreased clarity and exposure. This can get tricky as I don’t want the subject to artificially stand out too much from the background but I do love my moody pictures!
The best advice I have is to practice, practice, practice. And don’t forget to have fun


No Comments