Thank you Jessie for writing this useful guide for moms to help them take better pictures of their children.
Jessie Martin is a wife, mama, photographer and educator. She is passionate about helping moms learn to take beautiful photos of their kids.
People often dismiss tips for taking good pictures because they don’t have a fancy camera. A common misconception is that people are so restricted with their phones or basic cameras that they don’t have the ability to take ‘good’ pictures.
This couldn’t be further from the truth! The cameras on smart-phones are incredible! Plenty of people create beautiful images using only their phones.
I’m a professional photographer, but more importantly, I’m a mom. One of the greatest gifts I’ve ever given to myself has been to learn how to take better pictures. I have hundreds of pictures of my son that I’ve taken myself and I will cherish them forever. I want to give you an actionable list of tips that you can apply today to take great photos of your kids, even if you don’t have a great camera.
1- Turn off the lights:
If you take one tip from this entire post…let it be this one.
Artificial lights cast a horrible unnatural yellow glow onto everything. Use only natural light and you will transform your photography.
Action: Turn off all of the artificial lights in the room. Start using natural window light to take your photos when possible.
Learn how to use your smartphone camera:
Most people don’t take the time to explore their smartphone cameras and end up missing a ton of great features. There are some really simple things you can implement to take your pictures to the next level.
For instance, did you know that the selfie-camera is actually a lower quality camera than the rear facing camera? Always use the rear facing camera to take pictures.
I actually made ya’ll a guide with 12 tips for taking better phone photos! You can grab it HERE.
Action:
Learn how to use your camera correctly. Download my guide or do a few google searches! If you have a beginner DSLR, Youtube is an amazing place to start!
2- Find the lighting in your home:
Light is one of the first things professional photographers look for. Lighting is almost even more important when it comes to phone photography because you don’t have the same control over your settings as you do with a big camera.
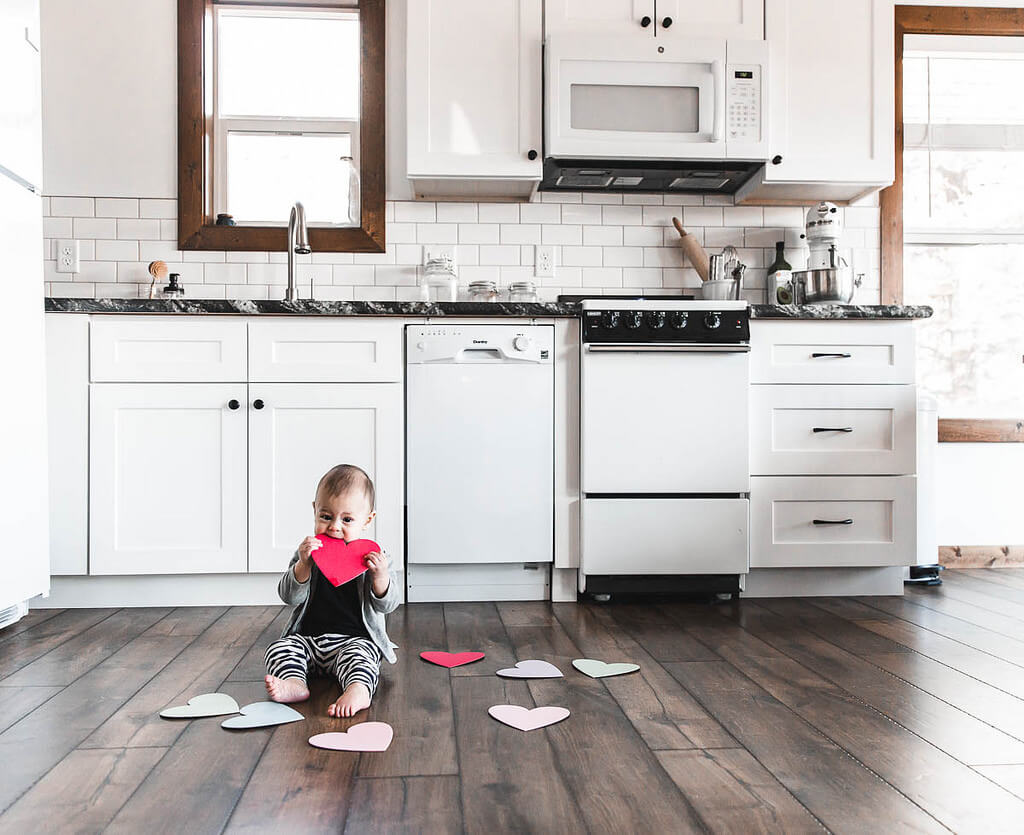
Whether you know it or not, your home is filled with beautiful light. You just need to pay attention and find it.
Action:
Pick a day and walk through every room of your home each hour throughout the day. Take note of the lighting in each room.Some things to look for:
- In the mornings, there may be soft light shining through your windows. This is my favorite type of light.
- During the afternoon hours, your home will probably be at its brightest. This is perfect for bright white photos.
- During the evening, some of your windows may be flooded with a beautiful golden light as the sun begins to set.



Don’t underestimate any of the rooms in your home. Don’t exclude things like the garage or bathrooms. Sometimes these are the very best places to find light – you just have to know what time the light is there.
3- Learn How to Edit your Photos using Editing Apps:
Nothing can replace taking a good photo, but editing can transform your photos in an unbelievable way. My favorite editing apps are VSCO and Lightroom. They’re both available for iPhone and Android.
VSCO has several free filters that you can put on your photos with one click. Each filter has different hues and colors. A ton of big-time Instagrammers use A6 to edit their photos. My favorite is HB2 – it matches my photography style the best.
You should always manually tweak the filter you choose. Although they’re one click filters, you can make your photos look much better by making additional manual changes.
Lightroom gives you a huge amount of control over your photos. I typically start a photo in VSCO and then pull it into Lightroom to make my finishing touches.
Action:
Download VSCO and Lightroom. Play around with each app. In VSCO, try out several filters and see which one your eye is drawn to most.
If you want to see a few start to finish editing tutorials, come say hi over on Instagram . I have a few saved to my highlights and I do them in my stories often.
I also created an editing cheat sheet that explains what each action does in both VSCO and Lightroom. You can download it HERE.
4 – How to get your kids to cooperate
This title is a little deceiving because I rarely make my son do anything specific or staged. I don’t want my love of photography to ever be a burden on him or something he resents.
For little kids, use my tip about finding good lighting in your home and be strategic with it. I often set up a play area in a place where I know there will be good lighting coming through the windows. For a baby, it’s easy to set them down and let things unfold naturally.
For the photos below, this is exactly what I did. I set his blocks in the middle of that beautiful light. I sat down with him and we played blocks and I snapped pictures. 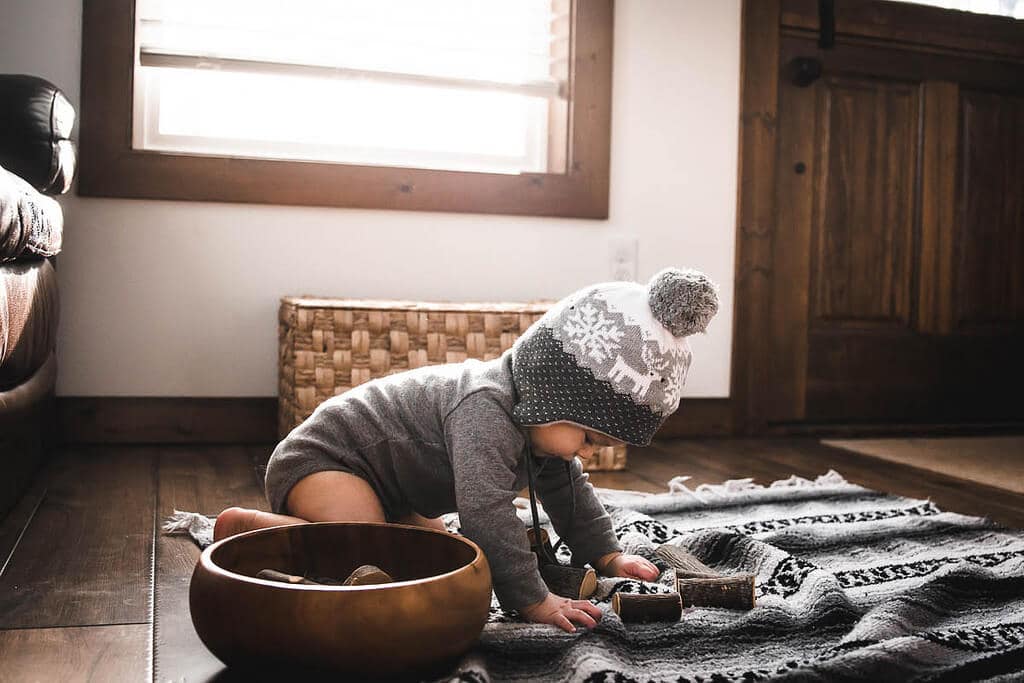

For older kids, you can make a game out of taking pictures. For example, let your kids do something they aren’t normally allowed to do (i.e. jump on the bed).
Action:
After you’ve found the light in your home, be creative about how you can get your kids to where the good light is. Think up a few games your kids might enjoy playing. Put away a few special toys that you only bring out when the camera comes out.
5- Get in the Frame
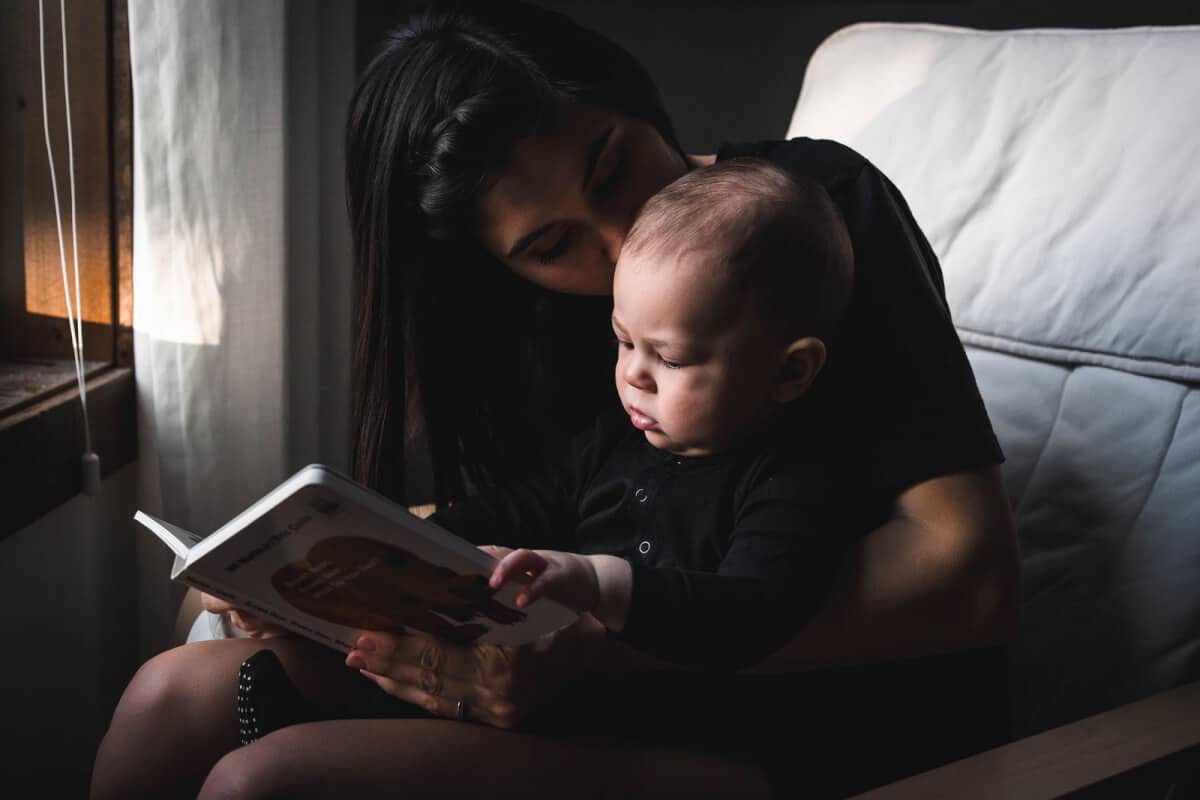
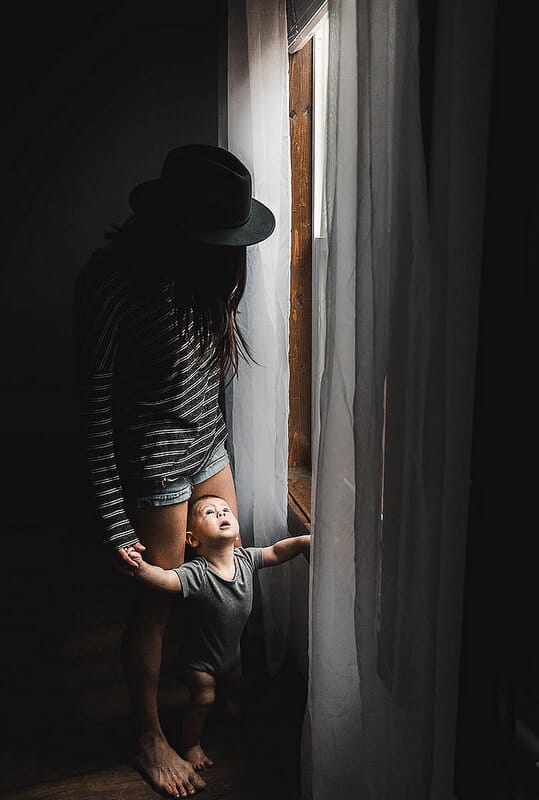
I saved this tip for last, but it’s my favorite. Mamas, get in the frame with your kids. This is so important. Your kids deserve to have pictures with you in them – they’re going to cherish them so much one day. Don’t let the fear of insecurities or the technical side of self-portraits get in the way.








2 Comments
Keisha M Tucker
2018-02-20 at 6:15 AMThank you for this post!!! I can’t wait to try your ideas!
Jessie
2018-02-22 at 5:56 AMKeisha, you are so welcome! Thank you so much for taking the time to read it. I really hope some of these tips will be helpful!!
<3
Jessie