Thank you, RXBAR, for partnering with me to share my Scary Simple parenting tips. All opinions expressed are my own.
Wooden Chore Chart
We’ve been stuck at home for what feels like 43 months, even though it’s only…has it only been 4?! Just like many kiddos, after the pandemic started, Jude went from structured days of school, occasional playdates, and carefree grocery trips, to full days of wide-open life at home.
It all happened so fast that we barely had time to prepare for the new reality. It was very much a throw everything at the wall and see what sticks kinda situation. Anyway, this period of time really reinforced our understanding that Jude thrives on routine, and also the gamification of unpreferred activities. So out of this, we arrived at two almost scarily simple ideas that have really taken root — I give you, my scary-simple parenting hacks: a wooden chore chart.
Making chores fun with a Scary Simple Parenting Hack
Jude loves to help around the house, but it’s less on our, the parents’, timeline than we’d like to admit. He just turned five, so he wants to make all his own decisions — therefore, we have to be creative and make chores fun. Now, when we ask, Jude cleans up his toys as fast as he can, and has a blast doing it.
We set up a two-minute timer and tell him he has to pick up as many things as he can, putting them back where they go, before it goes off. If he gets more than 20, he gets a treat, and he’s always trying to beat his high score. The whole thing is a beautiful trick, not only covertly turning cleaning up into a winnable game but rewarding him with a treat that he loves too.

Positive Reinforcement
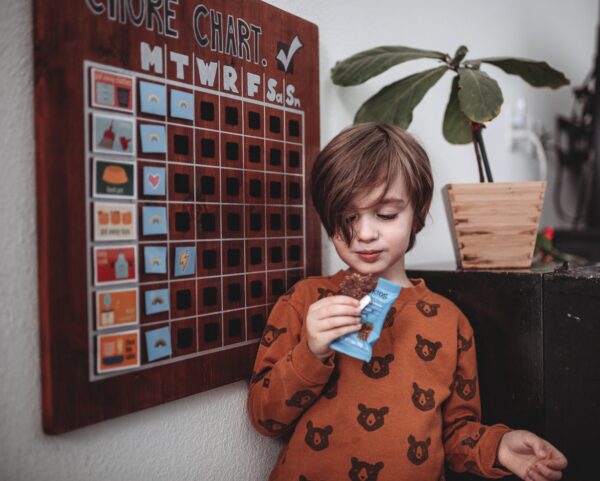
We use positive reinforcement, as both teaching-moments and earning rewards are better for the kids and us than punishment. So when Jude completes his chores, he gets to choose a treat, and lately it’s been one of RXBAR’s brand new RX Kids Protein Snack Bars.
They are actually good so it’s a win-win situation. Each bar has 5 grams of protein, no artificial flavoring, and they’re made with whole grain oats.
They’ve got 4 new Jude-approved flavors, which help keep things fresh: Chocolate Chip, Strawberry, Double Chocolate, and Peanut Butter Chocolate Chip. It’s definitely a snack/treat that I feel good about giving the boys. Charlie, of course, gets RX Kids bars in his lunchbox too.

Wooden Chore Chart DIY
My favorite change, though, and Jude’s too has been the wooden chore chart we designed and built. It’s the start of giving Jude the independence and structure he craves, all while keeping the house clean! We love win-win situations 🙂
Make your own wooden chore chart
Material:
– A 20” x 20” x 0.75” piece of wood
– Stain, paint, or sealant (optional)
– Laminated cards with individual chores on them
– Small Velcro squares
– Permanent marker (at least one color)
– Ruler (18” or longer)
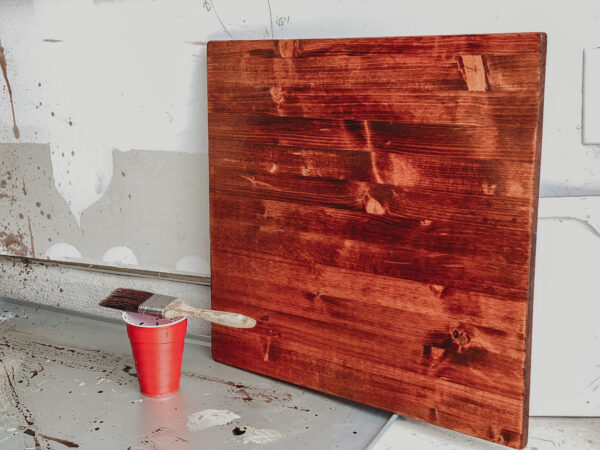
Instructions for a wooden chore chart:
- Head to your local home improvement store and ask them to cut a 24” x 22” piece off of the wood of your choice.
- Stain, paint, or seal the wood if you’d like.
- You can do it how you like, but here’s a proven way to arrange the grid:
- Position the wood so it’s taller (24”) than it is wide (22”).
- Leave a 2” margin from the edge on all four sides untouched, not writing/drawing in it.
- Starting from that bottom corner (2” from the side and bottom), use your ruler to draw a horizontal line to the other bottom corner (again, not writing in the margin).
- Go up 2”, and draw another horizontal line going from the edge of one side’s margin to the other.
- Repeat this until there are 8 horizontal lines from the left margin to the right margin, stacked 2” inches apart.
- Starting from the bottom-left corner, use your ruler to draw a vertical line up the left margin, connecting the ends of all 8 horizontal lines.
- Draw another vertical line, parallel to that one, 4 inches to the right.
- 2 inches to the right, draw another parallel vertical line.
- Repeat the previous step six more times, until your final vertical line is running up the right-side margin.
- Ignoring the 2”x4” left column, right above the top row of seven 2” squares, write the days of the week, or these official abbreviations: M | T | W | R | F | Sa | Sn
- Add your own personal message or title at the top.
- Add velcro squares to the center of each of the 56 boxes on the chart.
- Find some visual (or text) representations of chores — I got mine from a small shop on Etsy — these will need to fit in the 2” x 4” boxes in the left column.
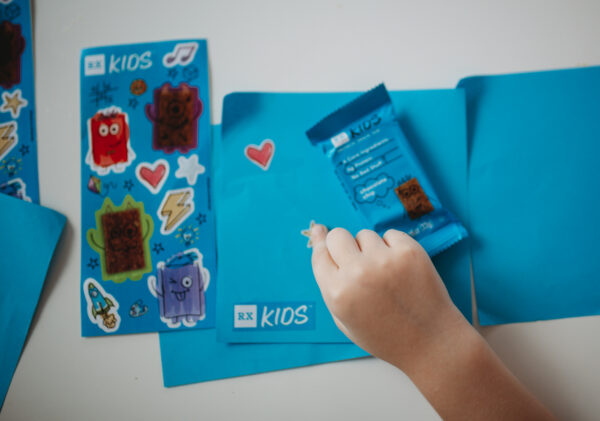
- Put some fun stickers on a piece of paper (Jude helped with this step), leaving at least 3” of empty space around each one.
- Cut them out, keeping in mind they’ll live in the 2” x 2” squares.
- Add the other halves of the Velcro squares to the back of all your sticker pieces and chore cards.
Et voila! Here’s the final result:
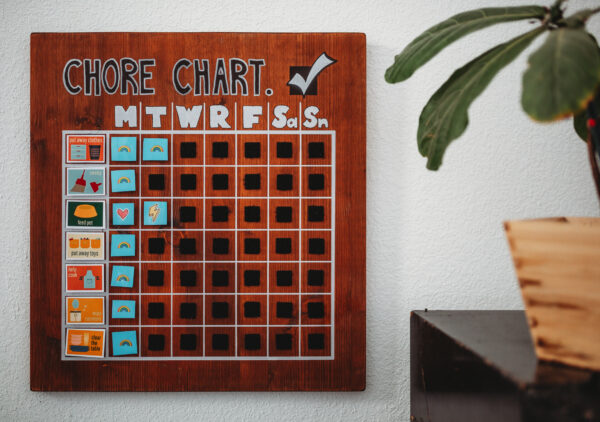
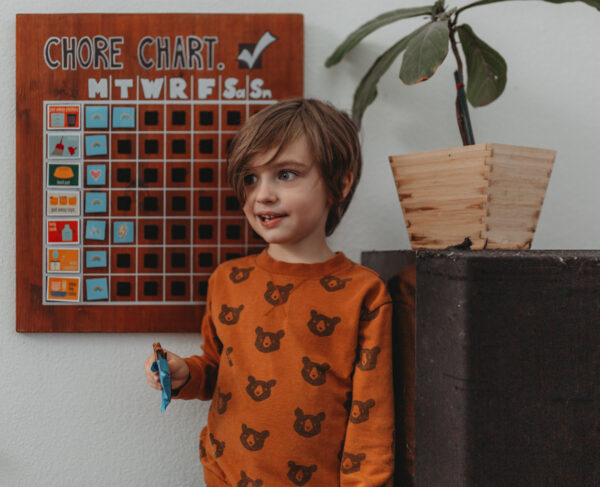
It’s a hit at our house — we switch up the chores/tasks every week. Jude loves doing the chores on his own schedule (as long as it’s done on the correct day) and putting on an “all done” badge on that square after he’s completed it. You can also use “to-do” badges, Velcroing them onto the chart to signify which chore needs to be done on which day, that your kiddo can pull off and swap for one of their “all done” badges when it’s complete.
I hope you liked this wooden chore chart parenting tip! Share your own scary simple parenting hacks in the comments and be sure to pick up some RX Kids Protein Snack Bars for you and your littles. They can be found on RXBAR’s website, and in Target and Walmart retail stores.




No Comments